You’ve steadily grown your Amazon business. You’re one of the many who’ve unlocked the formula for tapping into Amazon’s potential. The upside of joining a marketplace is that the audience is abundant and primed for purchase. But have you considered the need to protect your Amazon business?
Where there is reward, there is also risk. The best way to protect your Amazon business is to build your own ecommerce store. This lets you diversify your customer base, widen your customer audience, and increase your profit margin.
In addition to protecting your Amazon business, building an ecommerce store gives you more control. The marketplace limits what you can sell and perhaps they’ve even taken down your listings for unexpected reasons. Some merchants have had their inventory stranded because Amazon decided to be a direct vendor partner of the manufacturer. Other merchants have been banned due to elements outside of their control. Building your own store means you set the rules.
While more sales are always welcome, it takes work to get your own ecommerce store up and running. Amazon has tons of traffic ready for you, but your store doesn’t. It’ll take time to grow, nurture, and maintain your own ecommerce store. However, the long-term benefits will add incrementally to your current revenue and expand your overall margins.
So what are some of the benefits of building your own store? Well, you can:
- expand your brand presence and authority online without marketplace limitations
- reduce the risk and reliance on a specific channel that you do not and will not own
- reach new potential audiences and re-market to existing buyers, maximizing your funnel and long-term revenue
While it may sound like a daunting task, there are some steps that we can take a look at to give you an idea of where to start.
Step 1. Evaluate supporting platforms
The first step you’ll need to take is deciding which ecommerce platform you’ll be using. Depending on your resources and preferences, you may choose one platform over another. We typically recommend merchants to take a look at Shopify because of its reliability and continual growth as a platform. Once installed, it’s easy to navigate and learn, while being an affordable ecommerce shopping cart solution.
The second step is to purchase a domain name. Purchasing your brand name domain or an easy-to-remember store name is usually recommended. For an easy domain purchase, we recommend using the GoDaddy domain registrar.
Third, you’ll need to make sure that you’re able to manage your inventory, listings, and orders on BOTH CHANNELS as you grow. Remember, we’re talking about how to protect your Amazon business, so the last thing you want to do is put it at risk with a new channel. When managing multi-channel inventory, it would also be smart to plan for accommodating any additional selling channels you may add in the future!
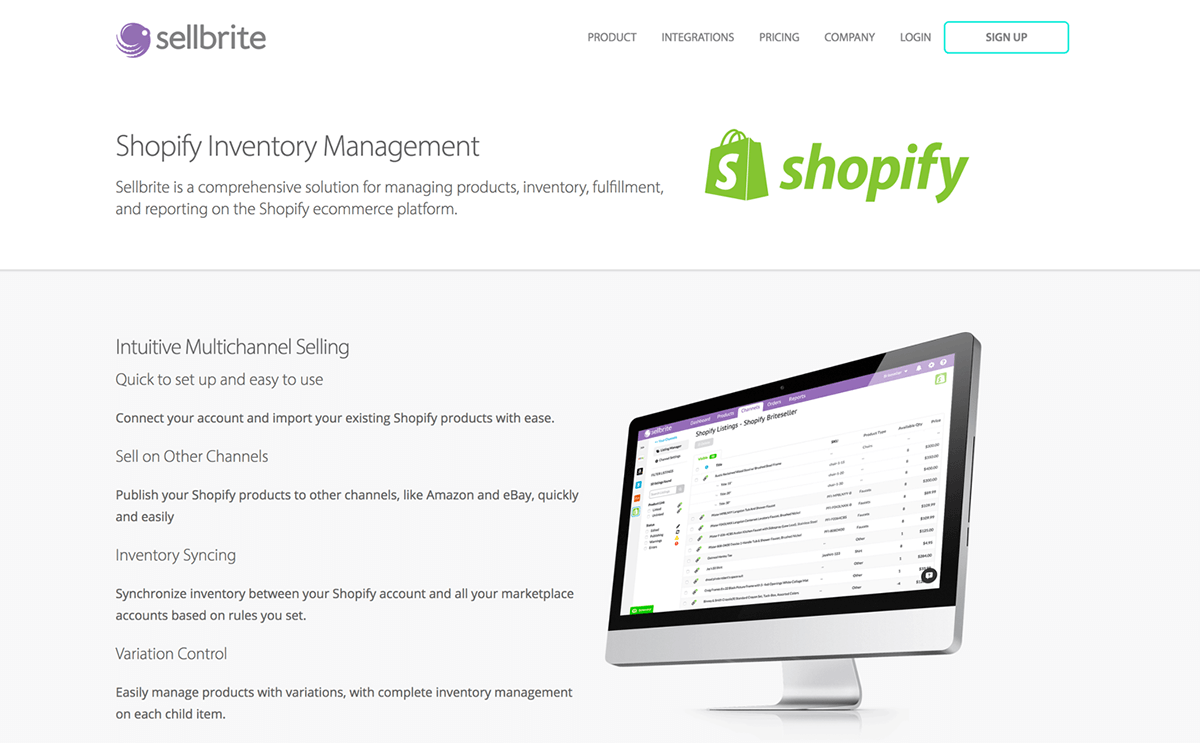
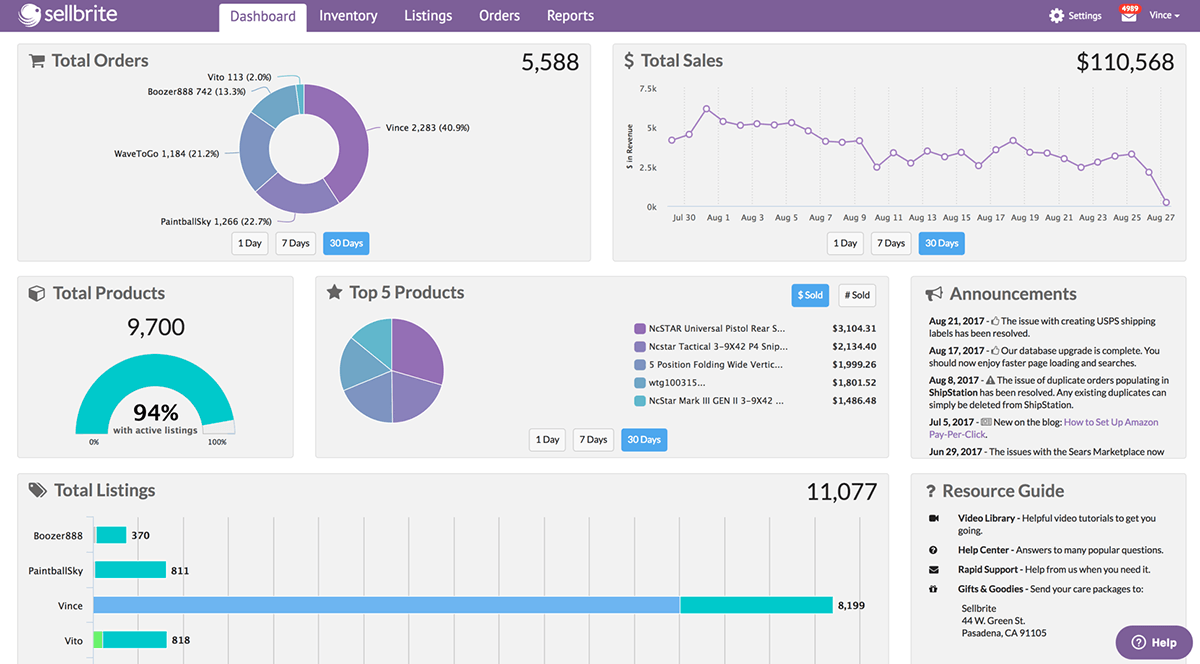
Sellbrite integrates directly with Shopify and manages adjustments to inventory across your store and marketplaces, allows you to easily list your Amazon products to your Shopify store, fulfill orders, and track your sales in one place. This enables you to streamline your processes and focus on the most important part of your business – selling.
Step 2. Develop a project timeline
If you don’t set up your goals, you won’t know how to reach the finish line. Here are some common milestones to keep in mind:
- Website design
- Inventory push
- Site / inventory optimization
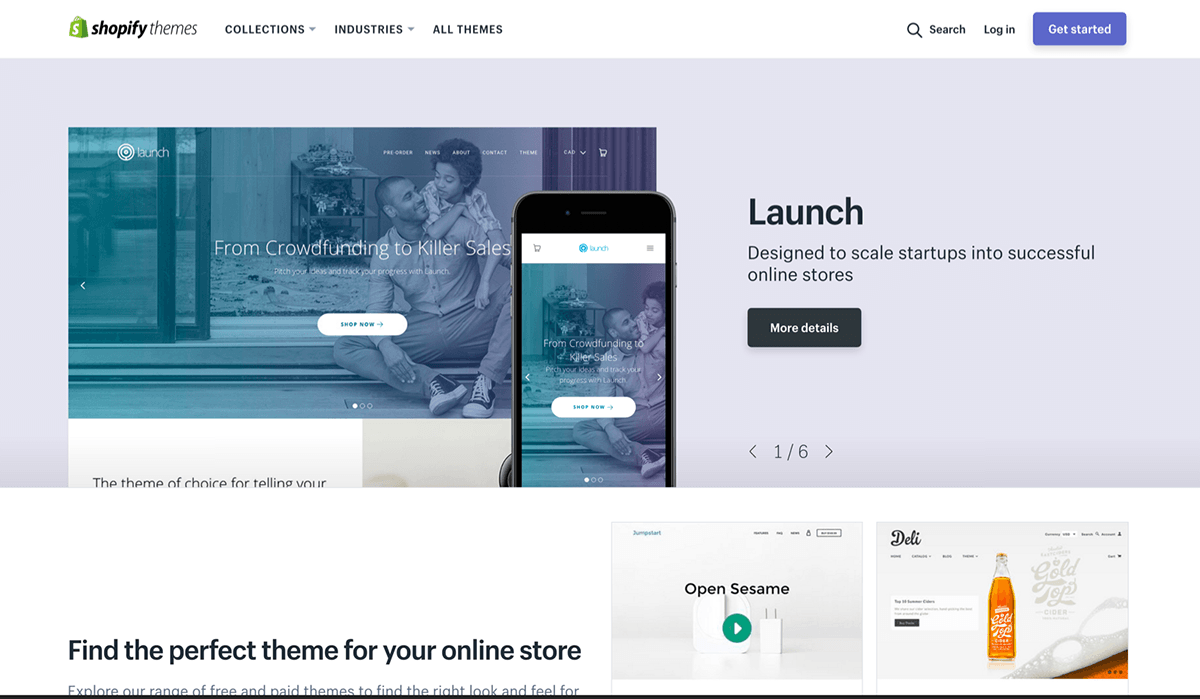
If you have a trusty programmer, they should be able to build your store fairly quickly. But even if you don’t have a programmer on staff, Shopify gives you a number of easy-to-install themes from which to build your initial storefront.
While the store’s in the building phase, you can work on preparing your inventory information and creating your future category assignments.
And don’t forget during this step to set up your store categories in Shopify. Unlike the marketplaces, the categories won’t be set up for you. Making sure that categories are neatly organized before you list your products will save you lots of time in headaches later down the line.
3. Understand and plan for inventory management
Once you add a second channel to your ecommerce business, you run the risk of committing the cardinal sin of retail: selling product you don’t have.
When working with a new sales stream, make sure to avoid this risk. Mismanagement of products may not immediately hurt your brand if overselling in your store. However, if mismanagement of items sold in Shopify causes you to oversell on Amazon, this can have some very real, negative affects, including having your store limited in sales potential or even account suspension.
You’ll want to make sure to include a multi-channel solution to make sure when your products sell out, all of your channels are updated in real time. You’ll also need help managing price changes, making listing edits and updates, and ensuring new stock you receive makes it to both your Shopify and Amazon listings.
Installing the Sellbrite app will allow you to pull your entire inventory from Amazon. This includes your product data, primary image, and inventory quantities, so you can start sending that data to Shopify.
At this point you might be thinking that including an inventory and listing management software may be a “nice-to-have” or a luxury, and not a necessity. However, make sure to consider the pros and cons of introducing such a platform to your workflow. What is the true cost of your time for inventory management and repetitive processes for multi-channel management? Investing in the right tool in order to scale your labor and maximize your time will result in real revenue growth, allowing you to make a return on your investment over and over again.
4. Consider fulfillment options
You have 2 things to consider with regards to fulfilling your orders: 1) where to store your inventory, and 2) how you’re going to ship.
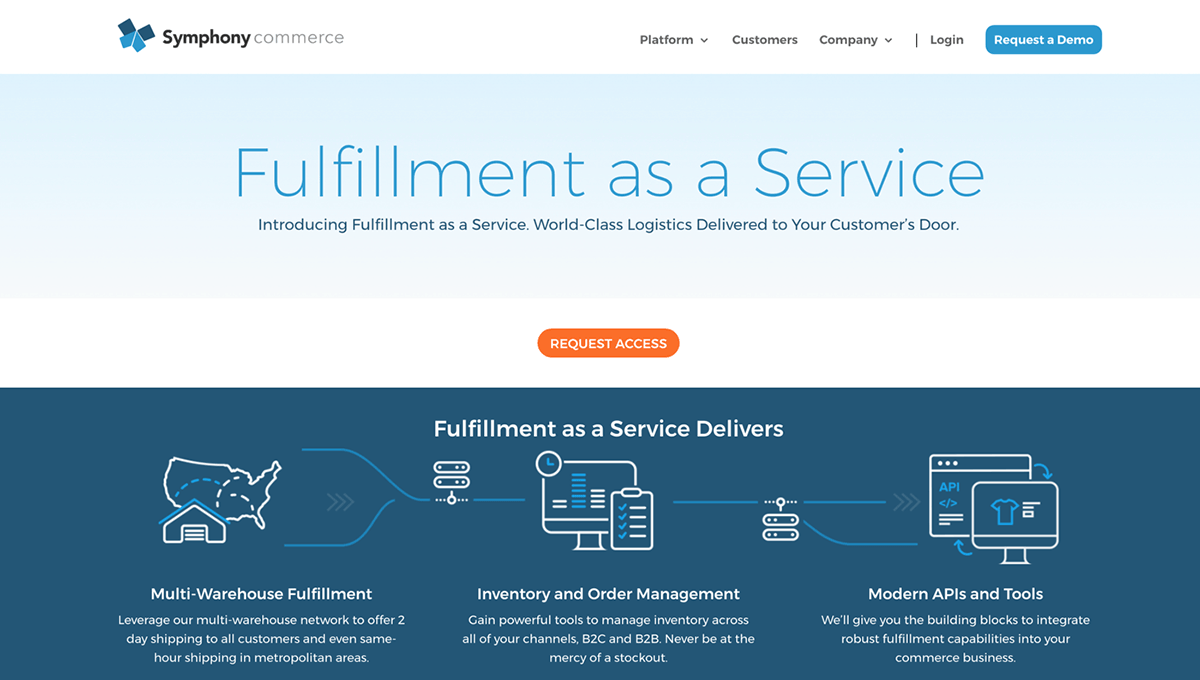
Sellbrite integrates with Symphony Commerce to provide an FBA-like experience for merchants. You can configure any warehouse in Sellbrite’s inventory management software to be fulfilled and managed by Symphony, and it can fulfill orders from any channel.
If you’re fulfilling orders on your own, you will need a tool for bulk creating shipping labels from multiple channels. Sellbrite’s native ShipStation integration allows orders to flow into Sellbrite and out to ShipStation for shipping. Tracking info then flows back through Sellbrite and out to the channel.
If you’re using Fulfillment by Amazon, Sellbrite makes that easy too with a reliable 2-way sync. You can choose to have all new Shopify orders sent automatically to Amazon, while quantity changes on Amazon reflect on your Shopify store.
Fulfillment is a major cost center for ecommerce businesses. Choosing your fulfillment practice will impact the economics of your business, whichever route you choose. Just make sure the process for fulfilling orders across multiple channels has been carefully prepared and finalized before you launch your store.
5. Start listing your products to your store
Once you have your store and categories prepared, you’re now ready to list your products.
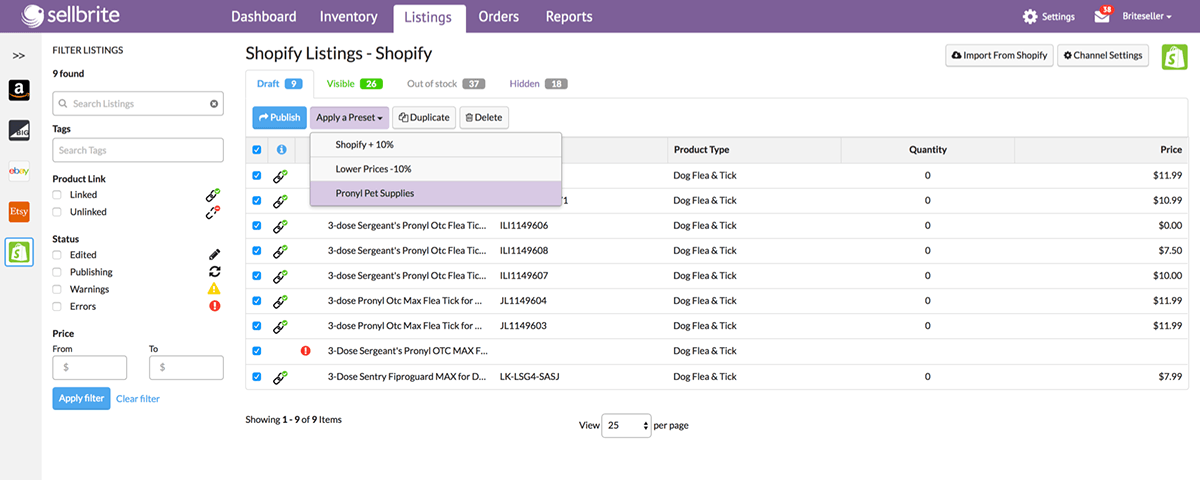
From your Selling Manager page in Sellbrite, you can select the products you want to list, create your draft listings, apply the Shopify listing Preset, and then publish the listings out to your store.
Once you’ve pushed inventory to your store, enable Price Sync and Inventory Sync within your Channel Settings in Sellbrite. Price Sync allows you to make price updates in Sellbrite and have those changes sync to your Shopify and Amazon listings. Inventory Sync manages inventory changes in Sellbrite; for example, if an order comes in from your Shopify store, Sellbrite will deduct your inventory for that item, and quantities will adjust on your Amazon channel.
6. Expand your marketing efforts
Don’t forget or overlook the importance of marketing — the steps you take here help drive more potential customers to your store. Here are a few tips and tricks to keep in mind as you grow your new audience:
- Include your brand name in all of your marketplace listings and profiles to reinforce brand authority
- Set up Analytics e-commerce tracking and highlight the best-sellers on your home page or featured category
- Make sure to capture email newsletter sign-ups so you can re-market to your visitors
- Create a weekly or bi-weekly email featuring a rotation of new arrivals, sales, industry/lifestyle content and more
- Enable an abandoned cart email program to retain sales from users who’ve added products to their cart but didn’t immediately complete their purchase
7. Review your performance and optimize
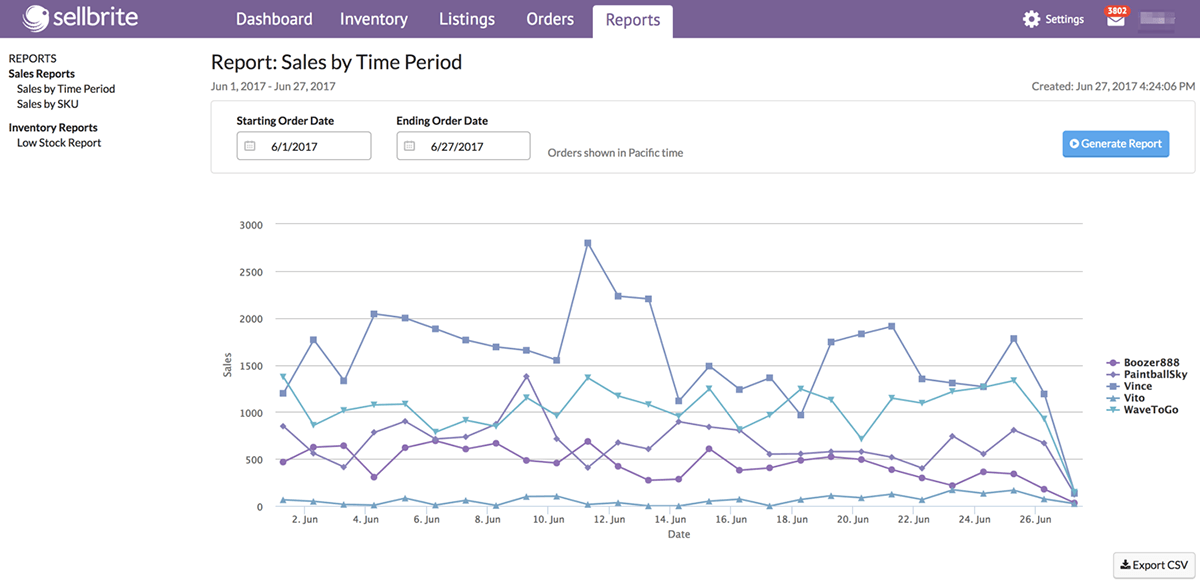
Once you have a steady stream of sales, utilize reports to identify the best-performing products and categories. Sales reports will help you understand the performance of your store, and identify SKUs that need to be replenished. Sellbrite helps you see sales by channel, as well as sales by SKU, with easy to read reports. Knowing which products and categories to invest in going forward is essential to accelerating growth on any new channel.
Transitioning to your own ecommerce store can be daunting. It’s going to take a lot of work — but just remember that it’s not impossible, and the opportunity you have today as a renter may not be there tomorrow as marketplace dynamics are constantly changing.
Expanding your brand presence and building a long-term online asset that you own and control will help you secure and grow your business over time. If you want to protect your current brand, then building your own Shopify store is an essential next step in developing your business.
